5 signs that suggest it’s time for home remodeling

5 signs that suggest it’s time for home remodeling

It is easy to fall in love with your dream home, but if you have lived in a particular space long enough, you might know that the structure isn’t everlasting and may wither with time. However, it’s not always easy to tell if a home needs to be remodeled, as some issues could be fixed with a simple coat of paint. Five signs that suggest your home requires a revamp are listed below. Floor damage Having strong and sturdy floorboards in your home is essential to move around safely. However, if they start to detach and carve a hole into the ground, it might be a sign to remodel the space. One could hire a professional to get the job done. Moreover, replacing tiled flooring with wood-based options could help it last longer. Even if you have a carpet cleaned by a professional at regular intervals, it is advised to replace it every ten years. Leaky roofs The roof of a home needs to be in prime condition to protect the interiors from extreme weather conditions. Minor leaks could be fixed with a DIY kit or a professional’s help. However, if it starts to leak in more than one location, it’s time to get it replaced or remodeled. Need of additional space If your family has grown since you first purchased the home, you may notice that the space is more cramped than it used to be. Such situations require hiring a professional to help plan and improve the home’s layout. Doing so will help make it more spacious to accommodate all family members. Pest infestations If you see pests in and around your house regularly, it could be a cause for concern. These rodents or insects may burrow in the gutters or attic, damaging the home space. Further, this may also affect the overall structure of your home.

5 easy home improvement hacks to save time and effort

5 easy home improvement hacks to save time and effort

When it comes to home improvement, many find the task challenging. But there are several ways one can cut down on the extra effort. There is a wide range of tips and tricks that can make things easier for you to carry out your remodeling projects without hassle. Check out a few home improvement hacks that will save you time and money without causing any mess around your home space. Stretch a rubber band over a paint container When you take up a painting project for your home, you may not think about the extra paint spillage that can happen from your brush. It can make the painting uneven when applied over any surface, such as walls, floors, or furniture. To tackle this, pop an elastic band over the paint can. After each dip of the brush, just gently glide it over the band to remove any extra paint and reduce wastage. Use a balloon to remove stripped screws It is tough to remove screws with heads worn out since a drill cannot reach them. An incredible hack that you can use to remove such stripped screws is by using a balloon. You should place the balloon right on top of the stripped screw. Now drill into the screw through the balloon. The friction caused by the balloon will help you pull the screw out successfully. Fix a pencil to your tape measure If you are doing a job alone, it can be hard to measure and mark simultaneously. You can make things easier by attaching a pencil using a binder clip to your tape measure. This quick hack will help you measure and make markings without any hassles. Moreover, your hammering and drilling will now be more precise. Create a DIY squeegee instantly You don’t have to rush to the hardware store when you need a squeegee urgently while working on a home improvement project.
6 swimming pool maintenance mistakes to avoid

6 swimming pool maintenance mistakes to avoid

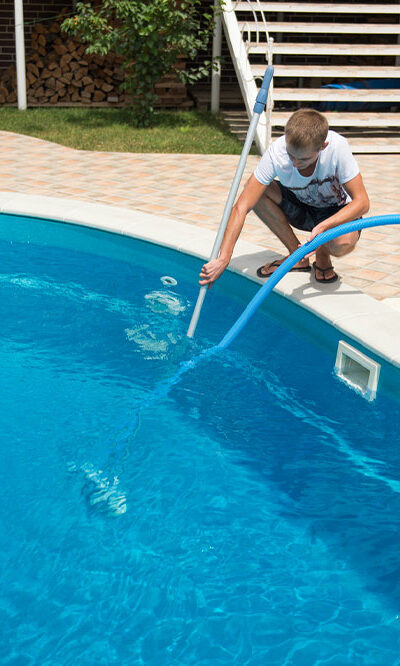
If you own a home with a swimming pool, you would know that maintaining a pool is a lot of work. Many people end up making expensive mistakes. Skimping on regular servicing and making pool-care mistakes can prove costly, make the water unsanitary, and endanger your loved ones. If you want to learn how to maintain your pool better, avoid making these six costly mistakes when caring for your swimming pool: Improper cleaning This is one of the most common mistakes people make. It is important to clean your pool at least once a week to remove any dirt, debris, or bacterial buildup. You also need to ensure that the sides and bottom of the pool are brushed regularly to prevent the growth of bacteria and algae and to avoid any staining or discoloration of the pool tiles. Another important aspect of cleaning your pool is to vacuum it regularly. Not vacuuming can lead to an increase in algae growth and make the water appear cloudy. When vacuuming your pool, start from the deepest part of the pool, and move towards the shallow end, as this will ensure you clear all debris along the way. Imbalance of water pH levels Ideally, the pH levels of the water in your pool must be between 7.2 and 7.6 to prevent any skin or eye irritation. These levels need to be tested regularly, and they can be maintained with the help of certain chemicals. Using the wrong chemicals Using too many chemicals can also lead to health issues. An imbalance of chemicals in the pool could promote algae and bacterial growth, making it unhygienic for you to swim in. Hire a professional maintenance company to help you maintain the right balance of chemicals to ensure that your pool is safe for you and your loved ones to swim in.
Save money with these effective DIY detergents

Save money with these effective DIY detergents

Do you constantly worry about having to repurchase expensive laundry detergent? Or are you hunting for a cheaper alternative every time you are loading up on home essentials in the supermarket? Have you been disappointed time and again with the lackluster results of store-bought detergents? Well, here’s an easy solution to all your worries. DIY detergents are easy alternatives; you can save money and eliminate toxic ingredients. Homemade detergent powder An easy and convenient way of cleaning up the laundry and saving money is putting together your own powder detergent. To begin with, grate a bar of soap; use a box grater to speed up the process. Next, add a cup of washing soda and borax to the grated soap. Next, mix the ingredients together well and store them in an airtight container. The resultant detergent is safe to use for anyone since it does not contain harsh chemicals and costs less than a branded laundry detergent. Homemade detergent liquid With just four ingredients, you can make your own liquid detergent that is safe to use. Bring out the bar of Fels Naphtha soap and grate one-third of the bar. Use 3 cups of water to melt this grated soap and simmer till the soap has completely melted. Make sure you do this on medium to low heat. Next, add half a cup of washing soda and borax and stir till the ingredients have dissolved completely. Add your soap mixture in a bucket with three gallons of water and vigorously stir until it is all a homogeneous mixture. Let it sit with a lid on for about 24 hours. Stir the mixture, and it is ready to be used. Homemade baby-safe detergent Once you make this baby-safe detergent, you wouldn’t want to turn back. It is pocket-friendly and leaves you with clean and shiny laundry.
5 eco-friendly ways to clean the bathroom

5 eco-friendly ways to clean the bathroom

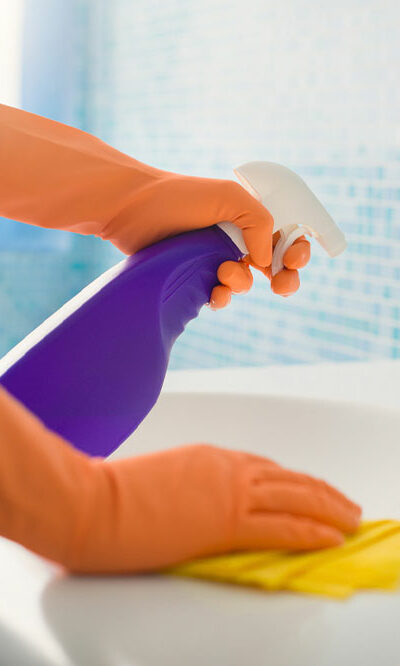
Bathroom cleaning is one of the most crucial household chores that must be performed regularly. The market has many modern products like sprays, rust removers, wipes, and soaps to make the job quick and easy. That said, most of them are expensive and use dangerous and harsh chemicals that affect the environment. Fortunately, you can achieve a squeaky-clean bathroom without contributing to environmental damage by following these simple eco-friendly tips. Polish surfaces with newspapers Many people use old rags to polish shiny bathroom surfaces like mirrors and faucets and end up noticing lint or fuzz on them. They then turn to a microfiber cloth. While microfiber cloths are readily available, they are bad for the environment as they shed particles of plastic, which are too tiny for filters to catch. An eco-friendly alternative is to use old newspapers to clean the bathroom. Newspapers can help you achieve shiny surfaces and be easily disposed of or recycled. Remove grime with lemon and salt Sinks and bathtubs are used multiple times during the day, leading to grime forming on their surface. An eco-friendly way to eliminate grime from the bathroom is to scrub it using lemon and salt instead of ready-made chemical formulas. All you need to do is cut a lemon in half, apply salt to the halves, and rub the lemon on the surface of the bathtub or sink. Besides removing grime and scale, this remedy leaves a lasting lemon fresh scent in the bathroom. Use vinegar and baking soda for the toilet bowl Most toilet bowl cleaners usually rely on harsh chemicals for satisfactory results. While you may opt for bleach as an alternative, it has disadvantages too. Besides being bad for the environment, bleach releases a toxic gas when it comes into contact with ammonia (a component of urine), which may lead to dizziness and sickness.
7 common toilet cleaning mistakes to avoid

7 common toilet cleaning mistakes to avoid

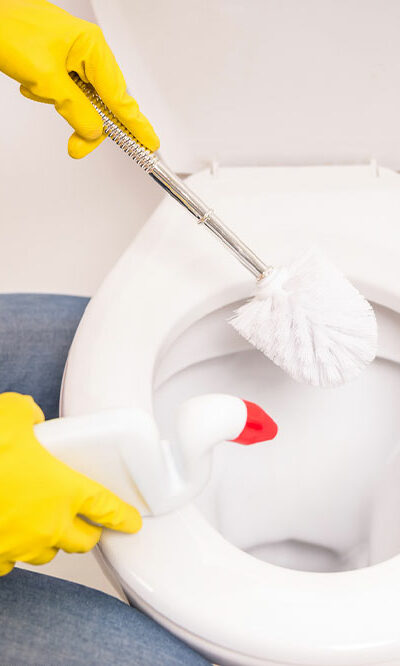
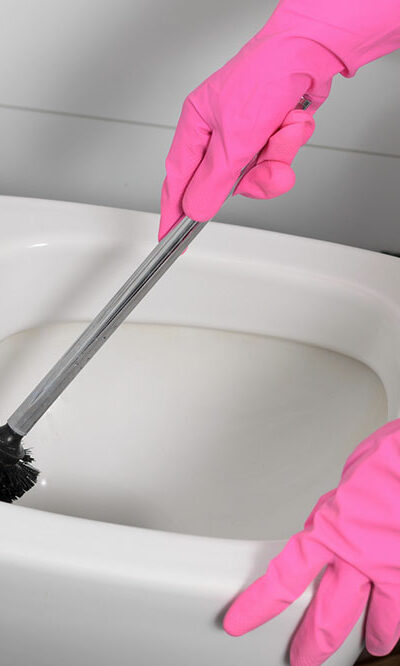
Keeping the washroom clean is a hands-on task. But it’s necessary to wipe down all surfaces, use quality disinfectants, and sanitize the area regularly to maintain good hygiene. Doing so will prevent transferring bacteria and germs from the toilet to other areas of the house. Cleaning the toilet seems straightforward enough. But here are 7 mistakes you might be making involuntarily and should avoid the next time you tackle this task. Forgetting to clean the toilet brush The tool designed to scrape off grime, gunk, and all the funky discoloration in a toilet also needs to be cleaned thoroughly after regular use. Not cleaning the brush leaves bacteria and viruses to harbor and transfer over to your hands the next time you pick it up. Wiping down surfaces immediately When you use a chemical base toilet cleaner, it is important to spray and allow the product to sit on the surface while the formula activates and does its job. Never wipe down the surface immediately after spraying it with the cleaning solution, as it will not be as effective. Using too many cleaning products Mixing cleaning products or repeatedly using them on the surface can cause the toilet bowl layer to erode and become discolored. Also, mixing cleaning products that contain unknown chemicals can create a lethal chain reaction releasing harmful toxins and fumes you should never inhale. Use such products carefully and as instructed only. Using the same cloth for all surfaces The countertops and sink areas should not be cleaned with the same cloth used to wipe down the walls of the washroom. Doing so will only transfer dirt and bacteria from one surface to another. Instead, you must use a separate set of sponges, microfiber cloth, and wipes to clean different surfaces. Cleaning with cold water Experts suggest using hot water to clean and scrub toilet surfaces as the heat activates the soapy formula and ensures a more thorough clean.
5 common toilet cleaning mistakes to avoid

5 common toilet cleaning mistakes to avoid

Cleaning a toilet is not a fun chore, however, a necessary chore of house cleaning. Not only is it hygienic to have a clean toilet, but it just makes good sense to use a tidy and clean bathroom. While this may be cathartic to some people, for others, it’s a chore they can’t wait to get over with! And as they rush through the cleaning process, some common mistakes can easily be avoided. Bleaching it too much While bleach is an effective cleaning product, too much can be disastrous for your toilet. Excessive use of bleach can damage the porcelain surface of the toilet bowl and even lead to gradual scratches and stains. Not to mention that too much of the product can lead to fumes, and if inhaled frequently, it can cause substantial damage to your health. So it is essential to use only just enough to keep those yellow stains and dirt away. Washing off the cleaner too soon If you aren’t already aware, the cleaner that is used for the toilet bowl needs to sit on the surface for a while. When you apply the product inside the bowl, wait a couple of minutes before you get the brush to scrub it off. Waiting is key to being able to break down the stains and dirt from the bowl effectively and efficiently. Then when you scrub off the product, you will notice that the surface gets clean quickly without putting too much pressure on the brush. Leaving the outside neglected Cleaning the toilet bowl from the inside is part of the cleaning process, but often outside remains untouched since it should be done equally on the outside and inside too. You can also use different types of brushes for both surfaces because of the design of the toilet.
10 surprising things that a home warranty doesn’t cover

10 surprising things that a home warranty doesn’t cover

If you purchased or are planning to purchase a home, you may have wondered what a home warranty covers. A home warranty can save you money when any systems and appliances break down, preserving your home and budget. However, it doesn’t cover every element of your home. Some aspects that a home warranty doesn’t cover, like leaky roofs and cosmetic damage, are listed below. Scroll down to uncover the limitations of a home warranty plan. Walls, doors, and windows A home warranty usually doesn’t cover walls, windows, and doors as they are considered structural elements. However, based on the age of your home, these items will be covered by a homeowners insurance policy or builder’s warranty. Cosmetic damage If the damage, like scratches or dents, is caused by natural wear and tear over time, it is the homeowners’ responsibility, not that of the warranty provider. Pest damage Home warranties are not designed to cover and repair/ replace the damages caused by pest infestations like rodents or termites. Leaking roofs A home warranty doesn’t cover leaking roofs since this is a structural problem. Hot tubs and swimming pools Pools and hot tubs are some things not covered under a home warranty, but certain companies might extend their coverage at an additional price. Sprinkler and septic systems Water-related systems, such as sprinklers and septic systems, are excluded, but a manufacturer or installer can guarantee their protection. Installation of new equipment When you replace a home appliance, it may necessitate structural changes according to new building codes. However, home warranties won’t cover any modifications when installing new replacement equipment. Pre-existing problems Home warranties are unsuitable for systems and appliances with existing issues before you get the coverage. Typically when you sign the Home Warranty Service Agreement, these elements should be in good condition.
6 common gardening mistakes to avoid for a lush garden

6 common gardening mistakes to avoid for a lush garden

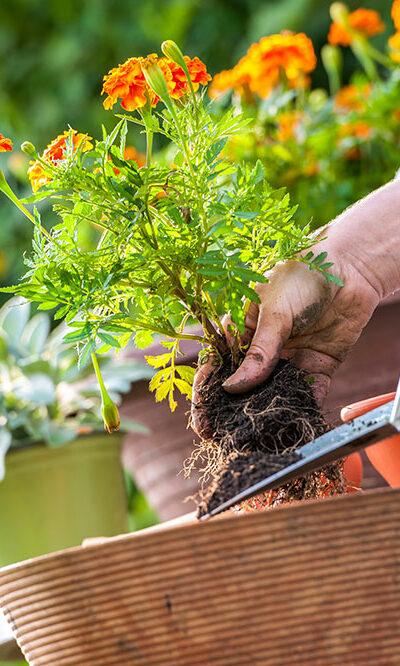
Gardening can bring many health benefits to individuals, from reducing stress to uplifting mood and energy levels. The activity can also be emotionally rewarding and allow one to stay connected with nature. But it is a skill that requires a few trials and errors before learning how to do it well. Beginners, particularly, may need to watch out for mistakes related to the plants, soil, fertilizers, or seasonal plantations that may harm their green patch. Common gardening mistakes Overwatering At times, people may worry about drying out their plants and overwater them. This mistake causes the roots to get waterlogged, which may stop the oxygen cycle and rot them. The best way to avoid this is to water plants deeply, less frequently, and wait until the two inches of the topsoil is dry to the touch before watering again. One can use a moisture meter to check moisture level in the soil as well. Underwatering On the other hand, not watering enough can also be detrimental to one’s plants, especially to the new sprouts and transplants. Bigger trees and richer soil can hold water for a longer time, so a day or two of underwatering does not affect them as much. New sprouts, however, are weaker, and lack of water can make them wilt. So one should ensure that the plants are watered regularly, especially when the climate is hot and dry. Planting too deeply The process of planting seeds requires a basic understanding of their specific needs. For instance, certain seeds need to be planted at a deeper depth to ensure proper germination, while others require exposure to light. It’s important to avoid planting too deeply, as this can deprive plants of necessary nutrients and hinder their growth. When planting transplants, it’s best to keep them at the same depth as they were in their pot to avoid stem rot.
5 common gardening mistakes to avoid

5 common gardening mistakes to avoid

Gardening isn’t something you get right on the first try. It requires some trial and error to perfect. Sometimes, you might find a plant doing poorly in one spot of your yard but thriving in another. While you might need more than a couple of tries to get things right, you must first learn about the common gardening mistakes to avoid. Luckily, most of these are easy to step over. Skipping compost Plants need nutrients while growing, and the best way to supply them is by adding compost. By skipping compost, you’re falling prey to one of the most common gardening mistakes that should be avoided. Compost not only provides plants with nutrients but also adds moisture and improves the soil’s drainage. Ignoring pest control Pests are always waiting for a chance to make quick work of your garden. So, you must find a way to stop them without using poisonous chemicals. One solution is to grow disease and pest-resistant plants that attract birds and insects that eat destructive pests. You can use some non-toxic traps and sprays occasionally. Poor watering habits It’s impossible to ignore how many of us water our plants and gardens at the wrong time. If you want the lawn to retain moisture, water it last thing at night or first thing in the morning. Watering the yard when the sun is out at its highest will result in the evaporation of water. The water droplets will also increase the sun’s intensity by acting as a magnifying glass. Poor weeding Simply chopping off the heads of weeds is not enough, as the roots continue to spread under the surface. Weeds like thistles and dandelions have strong root structures, so dig deep into the soil to get the roots out completely. If that isn’t an option, use a herbicide that can make its way to the roots and kill them.
4 ways to maintain a water tank

4 ways to maintain a water tank

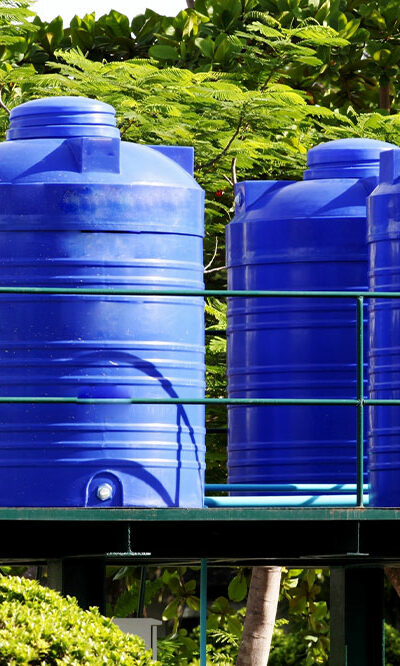
Maintaining a clean and sanitized water tank is essential for ensuring the health and well-being of your household. This is why it is critical to know the best ways to clean your water tank. From regular inspections to thorough cleaning methods, practical tips and examples are beneficial to homeowners. By implementing these tips, you’ll be able to enhance water quality, prevent contamination, and enjoy peace of mind knowing that your water supply is clean. Regular inspections and maintenance If you want to stay on top of water tank hygiene, ensure you are keeping up with regular checks and maintenance. Any possible signs of cracks, leaks, or damage could result in a tank’s integrity being compromised. You will also need to regularly check your pipes, fittings, and valves. Conducting daily inspections allows you to address problems early on and avoid costly repairs or water quality issues down the line. Flushing and draining the tank It is common knowledge that draining and flushing a water tank periodically helps avoid any debris, sedimentation, and stagnant water from being accumulated. The first step to doing this is turning off the tank’s water supply. Next, open the drain valve and allow the tank to be completely drained. Once that is done, you can turn off the valve and restart the supply to let the tank refill. Flushing the tank ensures that the water remains clean and prevents the buildup of harmful bacteria or contaminants. Scrubbing and disinfecting the tank One crucial aspect of maintaining water quality in a tank is through cleaning that’s followed up by disinfection. A great way to get the job done is by scrubbing the inside of the tank with the help of a long-handled brush and a non-toxic cleaner. Pay special attention to the seams and corners of the water tanks as these areas are easily prone to buildup or residue.
5 effective ways to clean carpets at home

5 effective ways to clean carpets at home

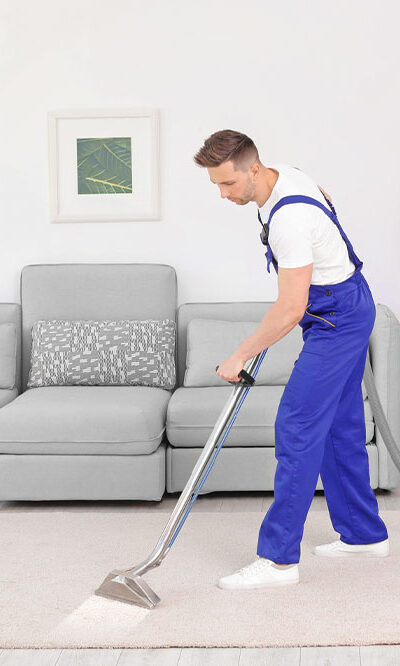
Cleaning the walls and dusting furniture are essential aspects of home cleaning, but the carpet is one surface on which considerable dust accumulates over time, and cleaning it becomes a challenging task. And contrary to popular belief, carpet cleaning can be a hassle-free process if one follows the right strategies and is aware of certain quick cleaning hacks. This article provides insight into some easy ways to clean a carpet: Clean using basic household products The “solutions” to a spotless carpet are mostly readily available at one’s home. A mixture of club soda and vinegar or baking soda, borax, and cornstarch can do wonders for your carpet, leaving it stain-free and tidy. One may also use steam vapor or a salt and vinegar solution for effective carpet cleaning. Another pro tip for cleaning a carpet is to apply a dab of shaving cream on it, which is effective in removing different types of stains. Blot stains on the carpet A common mistake while cleaning carpets is to rub on stains after pouring a solution. The right way to remove these stains is to blot them using a paper towel, sponge, or even a clean piece of cloth. Use ice cubes Hard, sticky substances like gum can be difficult to clean from carpets. One way to achieve this feat is to freeze these substances by placing ice cubes on them for about half a minute. One may then easily remove the sticky substance using a spoon. Use the heating process to remove wax Removing hardened wax settled over a carpet can be an excruciating task. This wax may be removed using the heating process, which involves placing a cotton cloth on the spot and running an iron over it. The wax may then be scooped off with a spoon once it melts.