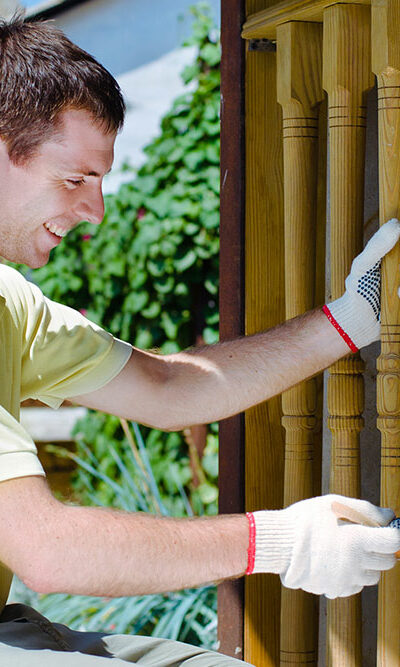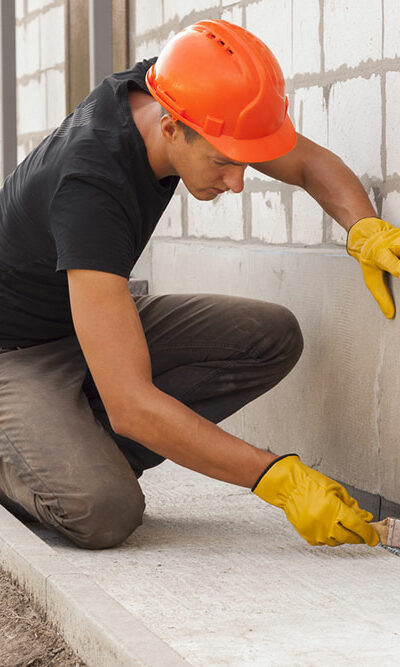
3 tips for choosing a foundation repair and jacking contractor
Finding the right contractor for foundation repair and jacking around the house can be tough. There are hundreds of things to consider while making the choice of contractor. For one, does one have to choose reputation or price when it comes to contractors? Also, is it useful to check out a contractor’s documentation and licensing? On top of these questions, there are also aspects related to experience and online reviews to consider. Here are some such factors one must keep in mind: Know about the work experience of contractors There are no official training or education degrees for becoming a contractor specializing in foundation repair and jacking. Therefore, experience and past records are the only decent indicators of credibility in this field. Therefore, the more years and projects a contractor has had under their belt, the more likely they should be up for selection. Normally, longevity and the number of services a contractor offers is an element of trust in the community. All individuals looking for these kinds of contractors would initially check out the names of long-standing companies as opposed to inexperienced and rookie contractors. One can simply do an online search for a “foundation repair and jacking contractor near me.” Check for license and insurance Although not all states need contractors to have a license, some have made it mandatory. A license is a fairly tried and tested avenue of credibility in contractor circles. In many cases, a contractor who calls themselves is likely to be more familiar with various aspects of foundation repair and jacking. However, in states in which such licenses are not required, such contractors may tend to be rather inexperienced too. Ultimately, people hiring such contractors need to make the call based on which state they are living in. Insurance is a fairly fail-safe element that prevents users from spending too much on foundation repair and jacking of their house.